How to tie a tie: the 4 essential knots
A tie knot always follows the same principle: the wide end wraps around the narrow end, makes one or two turns, comes up through the neck loop and down through the front. What changes from one knot to the next is the number of turns and their direction. Here are the four that cover most situations.
Two Cambridge mathematicians, Thomas Fink and Yong Mao, counted eighty-five possible tie knots. Four are enough for a lifetime. Each one is described below move by move, with the shirt collar that suits it and the type of silk that shows it at its best.
The vocabulary and the three reference points
Three words come back in every explanation that follows. The wide end is the broad part of the tie, the one that does the work and forms the knot. The narrow end is the thin part, which stays almost still. The neck loop is the space between the collar and the tie, through which the wide end comes up at the end of every knot.
The moves are described for a right-handed person, tie around the neck, collar up, wide end on the right and narrow end on the left. If you are left-handed, simply swap right and left.
Reference point no. 1: the starting length
Before you start, place the wide end about 12 inches (30 cm) lower than the narrow end. The Windsor and the Prince Albert use more silk: add 2 to 4 inches (5 to 10 cm). Once the knot is done, the tip of the wide end should just touch the middle of your belt buckle. Higher, the silhouette is cut short. Lower, the tie floats.
Reference point no. 2: the dimple
The small vertical hollow just below the knot is called the dimple. It is what separates a tie that is merely placed from a tie that is properly tied. It forms as you tighten: pinch the silk below the knot with your index finger while you slide the knot up toward the collar.
Not every tie can hold one, and for two different reasons depending on the construction. On a three fold tie, it is the wool based interlining that gives the knot the shape memory needed to keep this hollow all day long: on a poorly interlined tie, the dimple opens at the first movement, whatever the gesture. On a seven fold tie, which has neither lining nor interlining, nothing comes to help: only the quality of the silk makes the dimple possible. In both cases you need a supple, fluid silk, as a stiff silk refuses to fold this way. The dimple is therefore an excellent indicator of a tie’s quality.
Reference point no. 3: tightening
Hold the narrow end with one hand and slide the knot up toward the collar with the other. Never pull on the narrow end to tighten: this twists the silk and marks the tie for good.
The four knots, step by step
1. The four-in-hand
Also called the simple knot, it is the most worn knot in the world. Compact, slightly elongated, discreetly asymmetrical. This deliberate imperfection is exactly what people like about it: it never looks labored.
- Wide end on the right, about 12 inches (30 cm) lower than the narrow end.
- Cross the wide end over the narrow end, to the left.
- Pass it under the narrow end, to the right.
- Bring it back across the front, to the left. The wide end has made a full turn.
- Bring it up from underneath, through the neck loop.
- Pass it down through the loop that has just formed in front of the knot.
- Tighten by pulling on the wide end, form the dimple, slide the knot up to the collar.
For narrow to medium spread collars and button-down collars. It is the everyday knot, the only one that still looks right with a casual shirt, and the one that suits thick silks best: its small volume makes up for the thickness of the tie.
2. The Prince Albert
The four-in-hand with one extra turn, also called the double knot or the Victoria knot. Denser, longer, almost cylindrical. It is the most flattering knot on thin ties.
- Wide end on the right, about 14 inches (35 cm) lower than the narrow end: this knot uses more length.
- Cross the wide end over the narrow end, to the left.
- Under the narrow end, to the right.
- Across the front, to the left.
- Under the narrow end again, to the right.
- Across the front again, to the left. The wide end has made two turns.
- Bring it up from underneath, through the neck loop.
- Pass it down through the two loops formed in front of the knot.
- Tighten slowly, sliding the knot up in small movements.
Let the first turn show very slightly below the second, at the bottom of the knot: this offset is intentional, it is the signature of the Prince Albert. For thin ties or light silks, narrow to medium spread collars, slim builds.
3. The half-Windsor
Symmetrical, triangular, medium sized. The most versatile of the four: neat enough for an important meeting, discreet enough for an ordinary day.
- Wide end on the right, about 12 inches (30 cm) lower than the narrow end.
- Cross the wide end over the narrow end, to the left.
- Pass it under the narrow end, to the right.
- Bring it up toward the center, toward the neck loop.
- Pass it through the neck loop and let it come down on the left.
- Bring it across the front, to the right.
- Bring it up from underneath, through the neck loop.
- Pass it down through the loop formed in front of the knot.
- Tighten, form the dimple, slide the knot up.
If you were to learn only one knot besides the four-in-hand, this is the one. For medium to wide spread collars and ties of standard thickness. It stays very close to the four-in-hand, just a little more held: it allows less nonchalance because it holds better, without any of the Windsor’s stiffness.
4. The Windsor
Wide, perfectly symmetrical, frankly triangular. It fills a spread collar like no other. Its name is misleading: the Duke of Windsor did not invent it, he liked large knots and got them with thicker ties, simply tied.
- Wide end on the right, about 14 to 16 inches (35 to 40 cm) lower than the narrow end: this is the hungriest knot of the four.
- Cross the wide end over the narrow end, to the left.
- Bring it up from underneath, through the neck loop.
- Let it come down on the left.
- Pass it behind the narrow end, to the right.
- Bring it up toward the center, toward the neck loop.
- Pass it through the neck loop and let it come down on the right.
- Bring it across the front, to the left.
- Bring it up from underneath, through the neck loop.
- Pass it down through the loop formed in front of the knot.
- Tighten while keeping the triangle perfectly symmetrical with both hands.
For wide spread collars and wing collars, with a thin to medium silk. On a thick silk it becomes enormous and pushes the collar points apart. It also needs length: check that the tip reaches your belt before choosing it.
Our choice
The Maison’s point of view
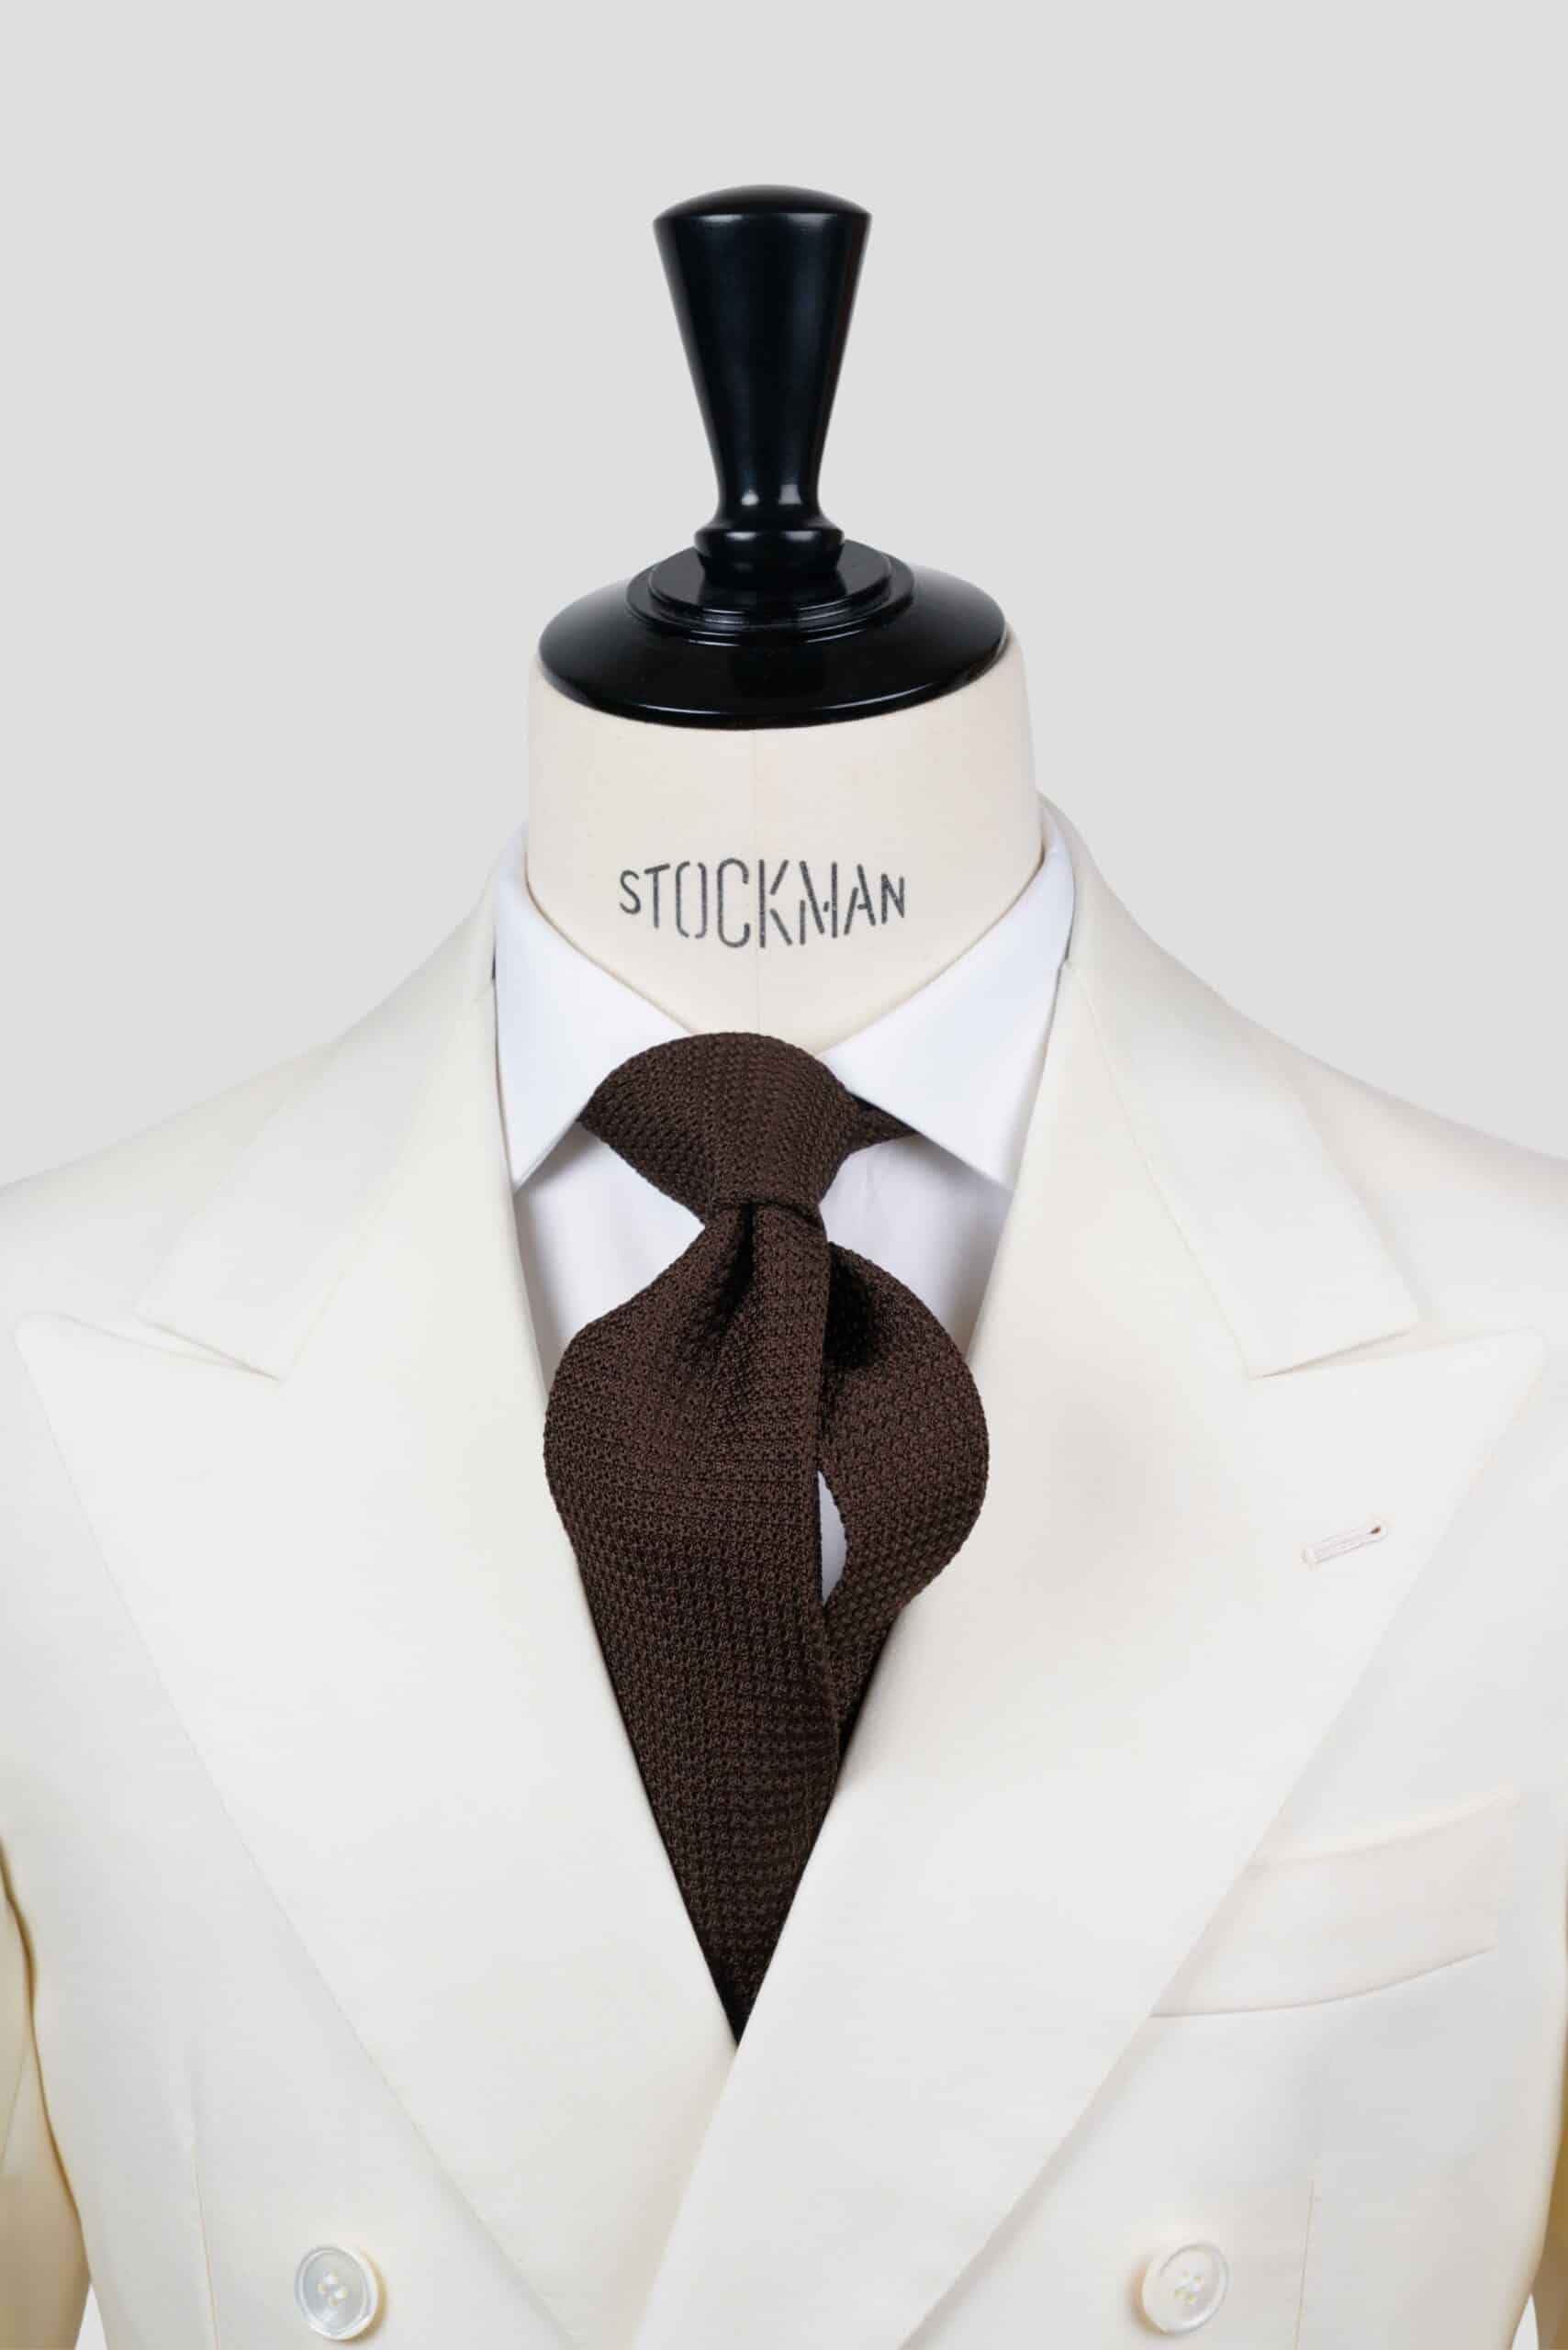
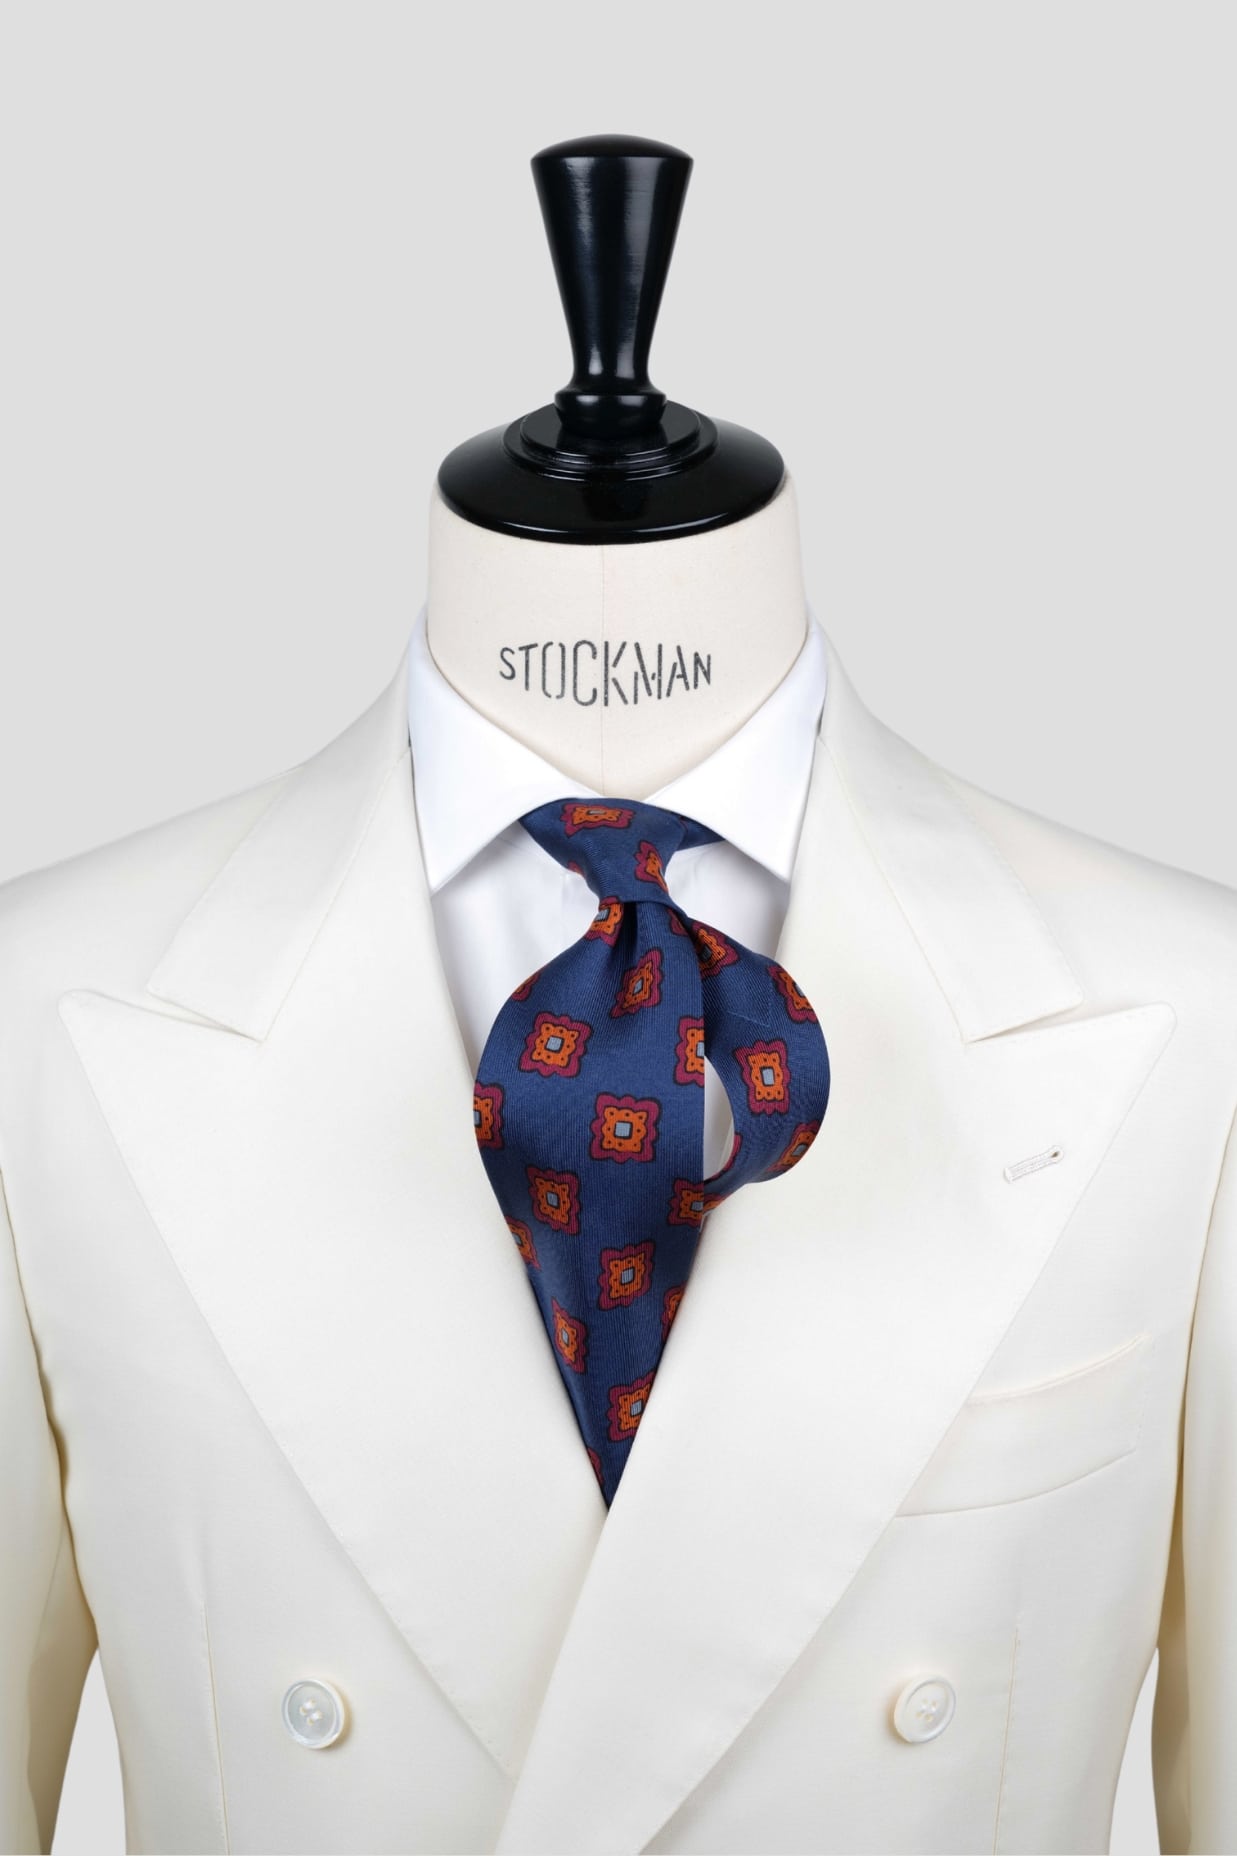
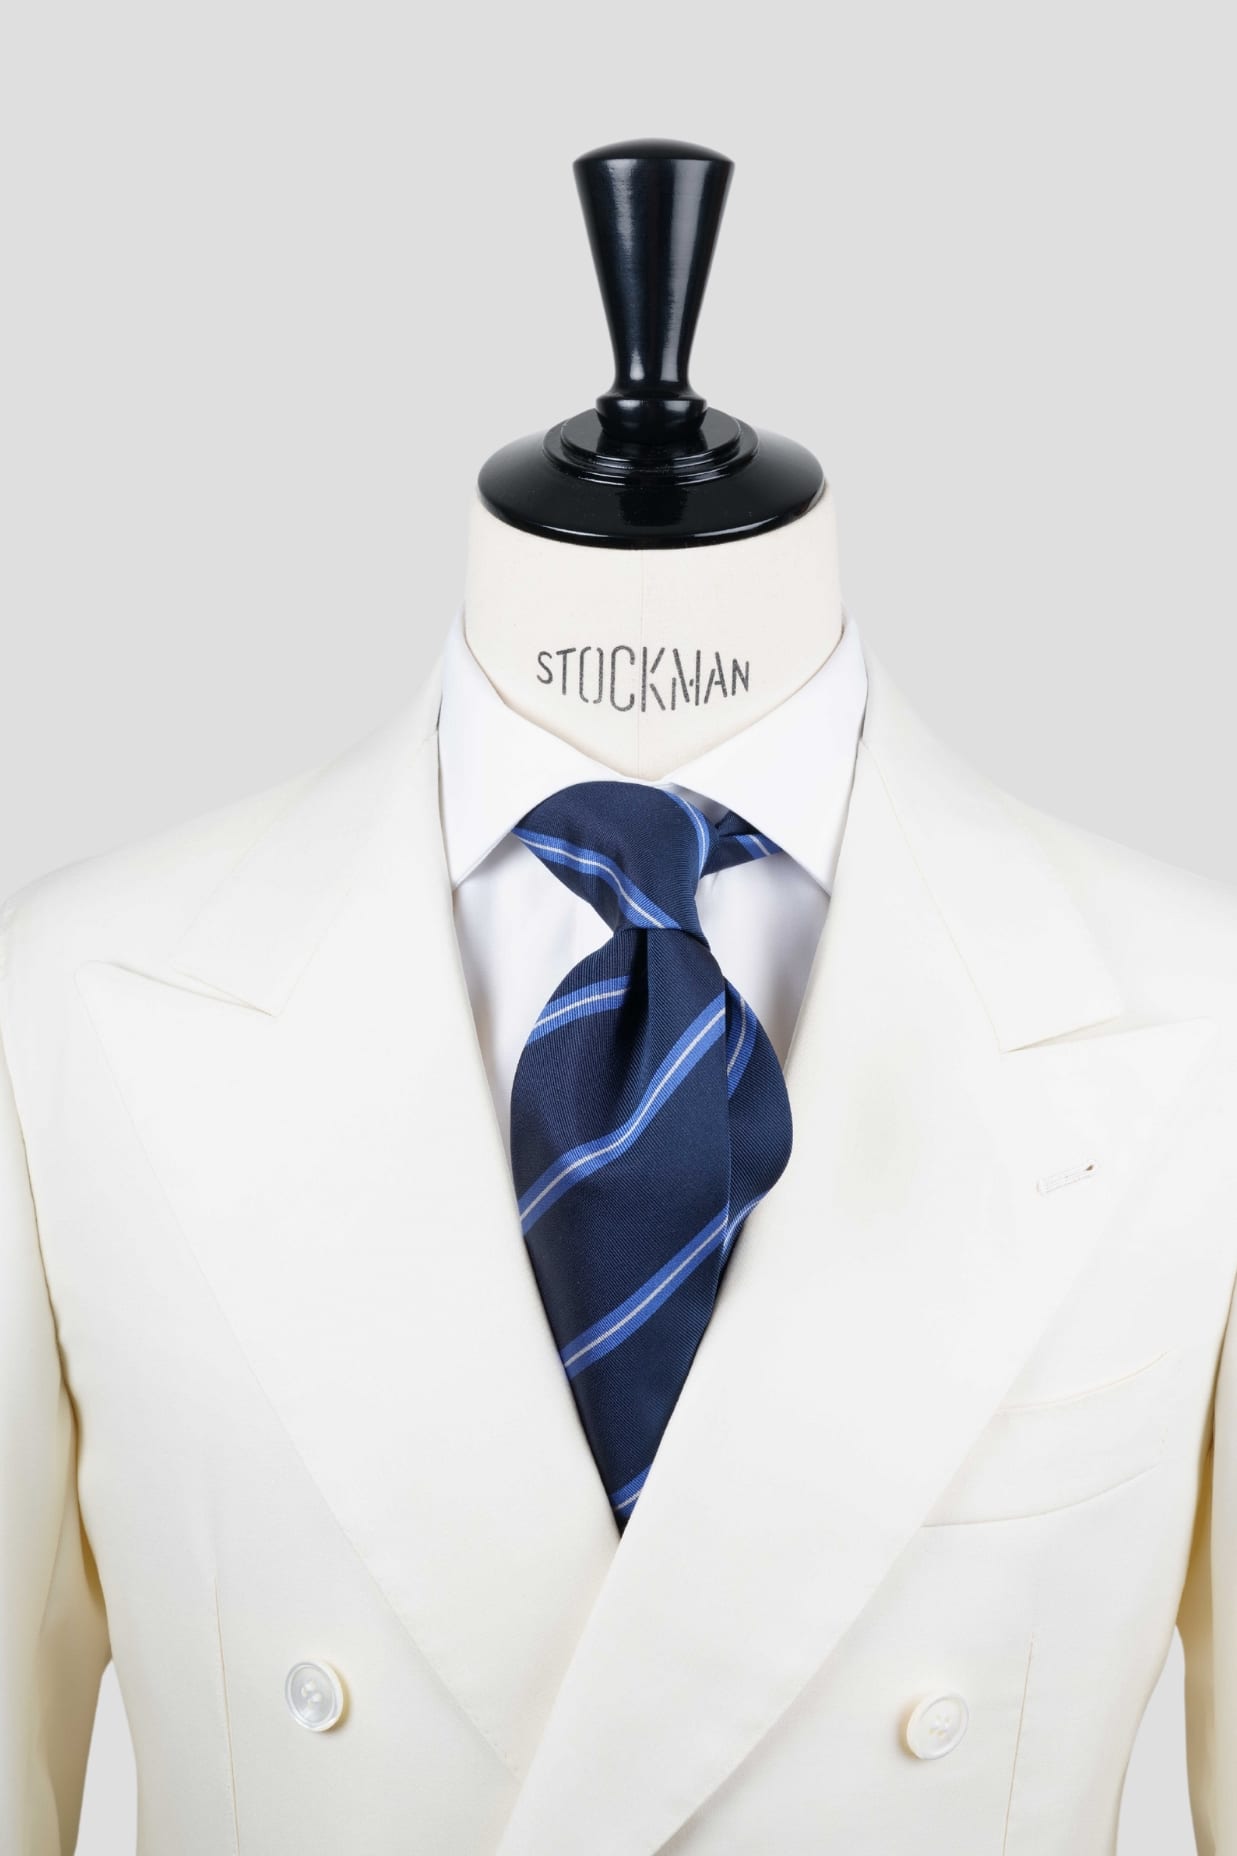
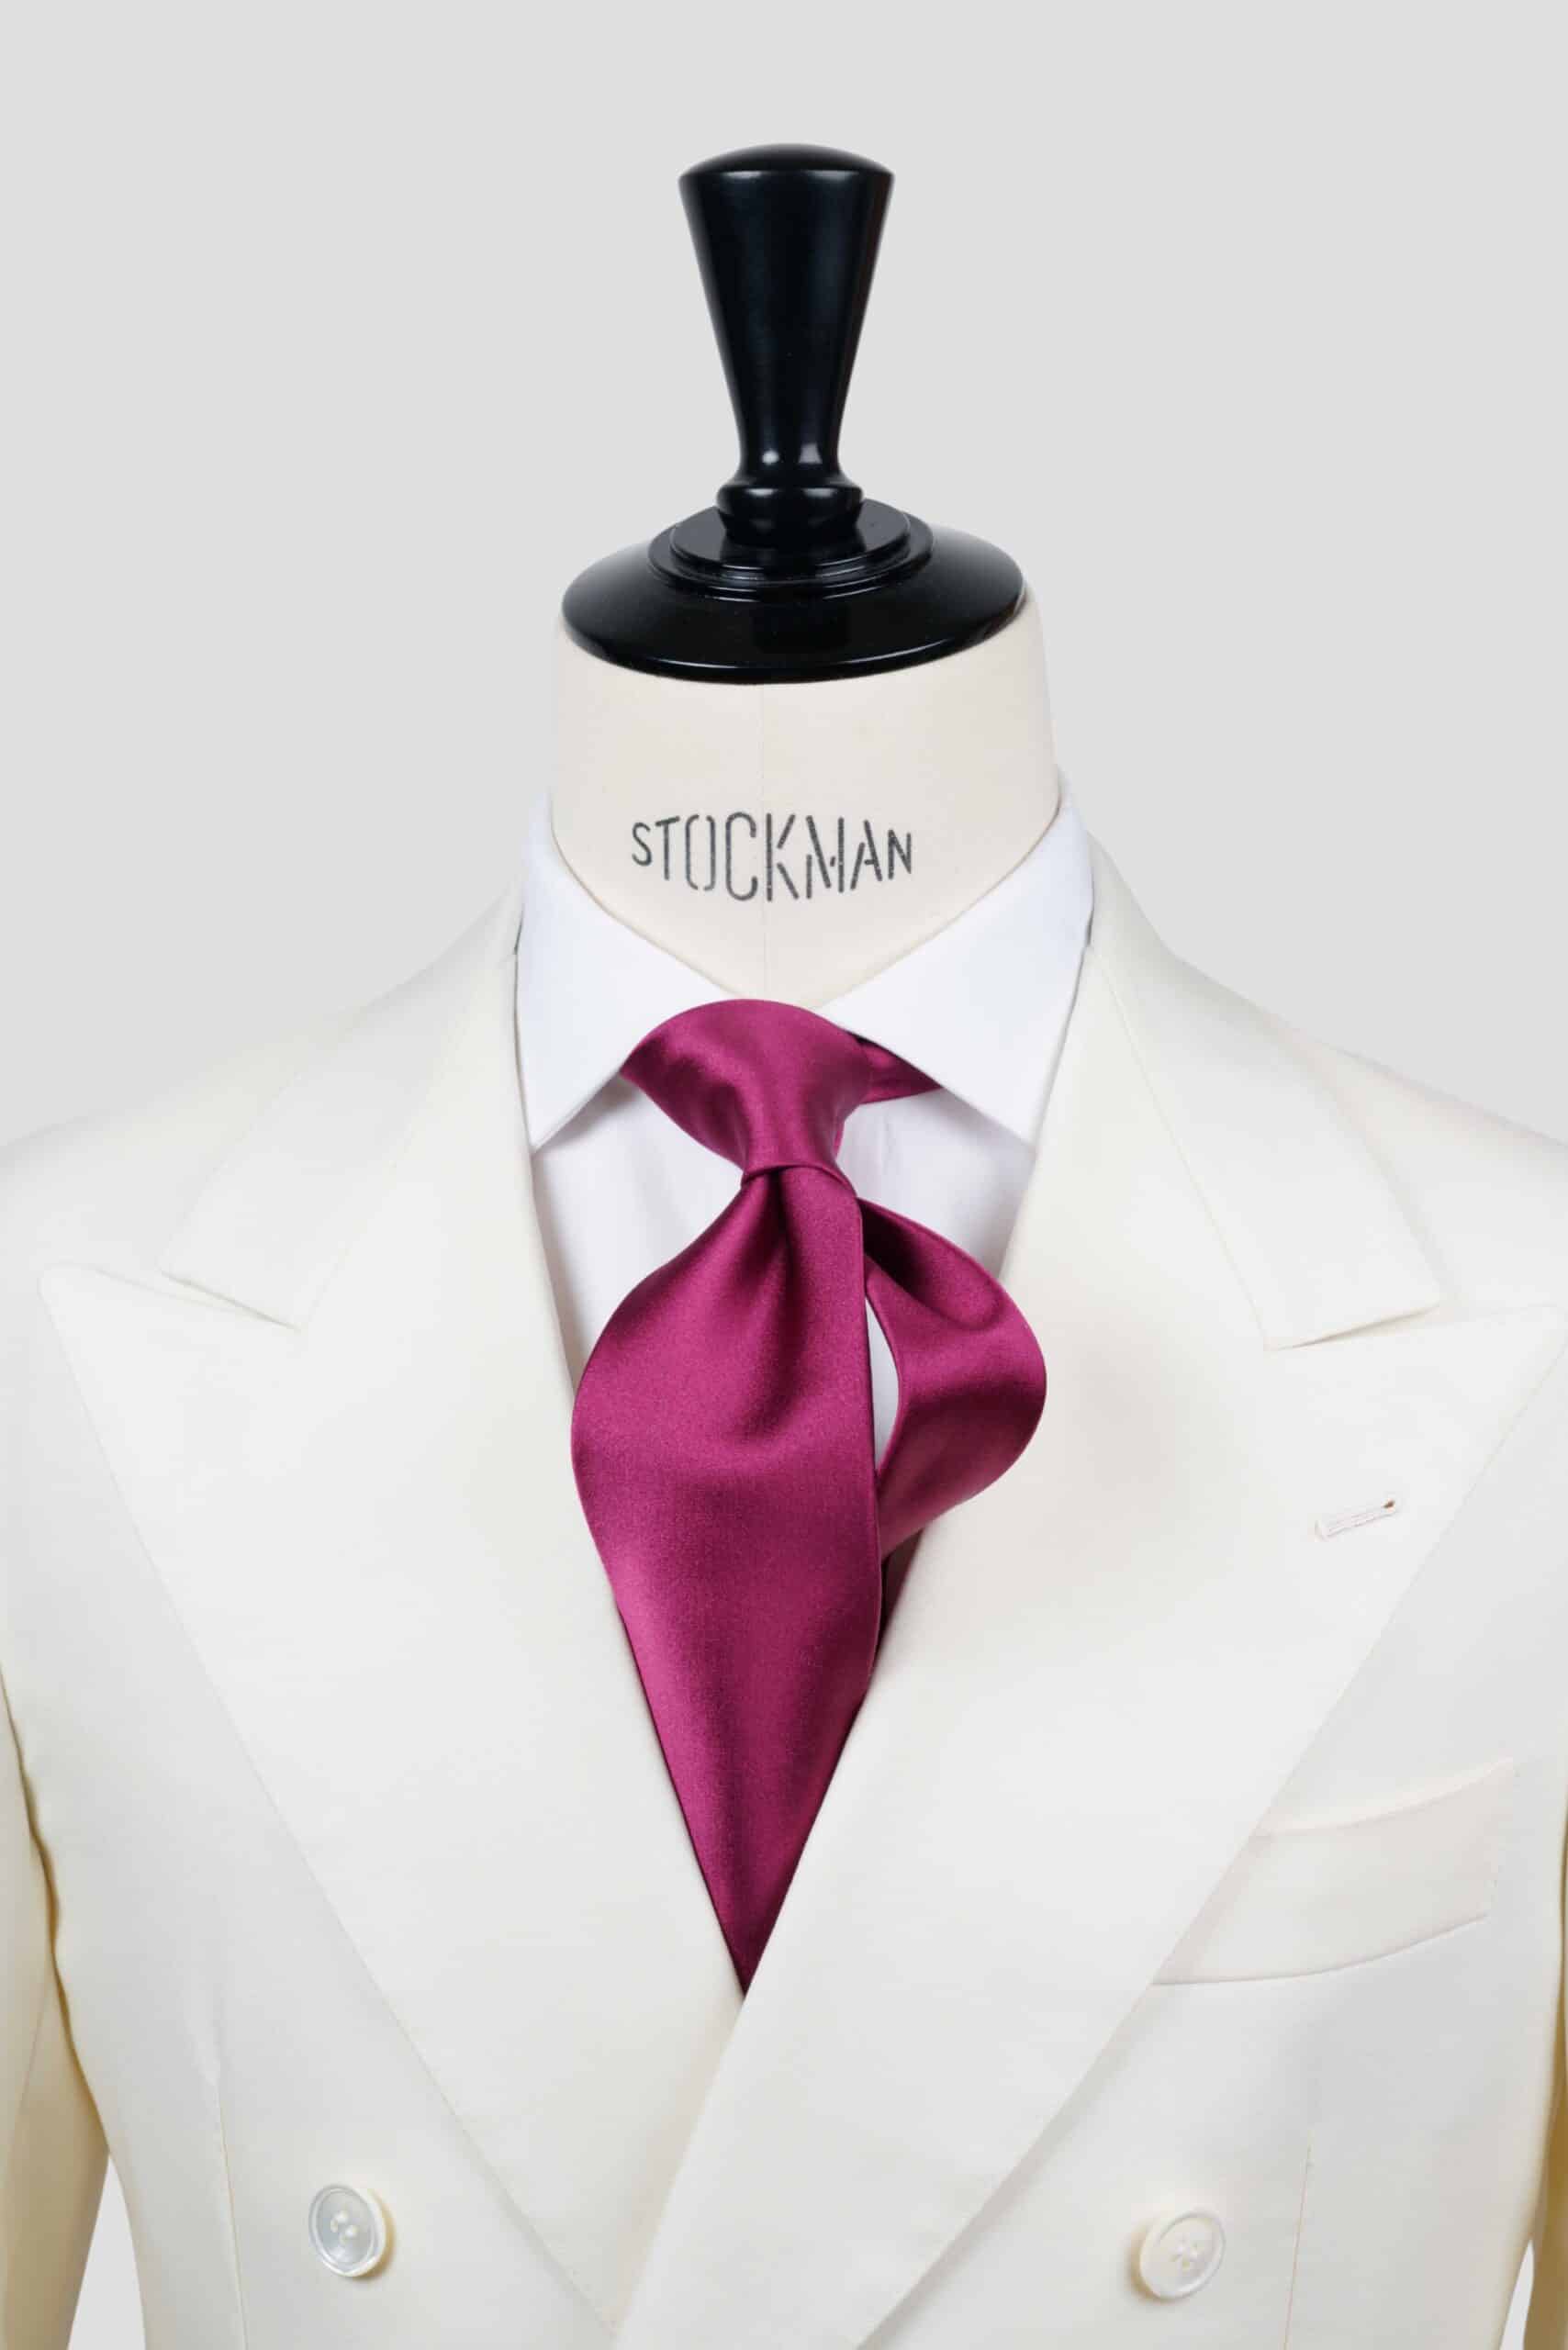
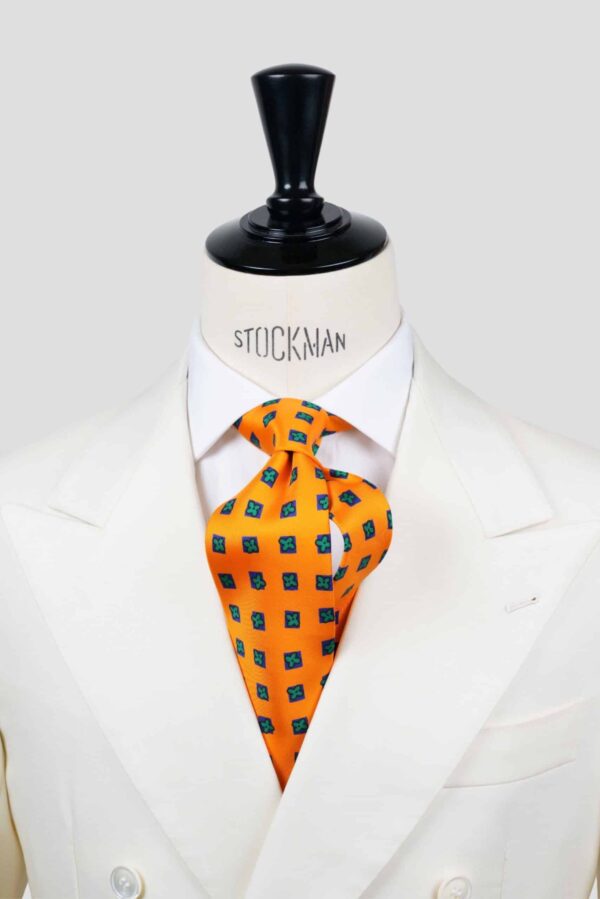
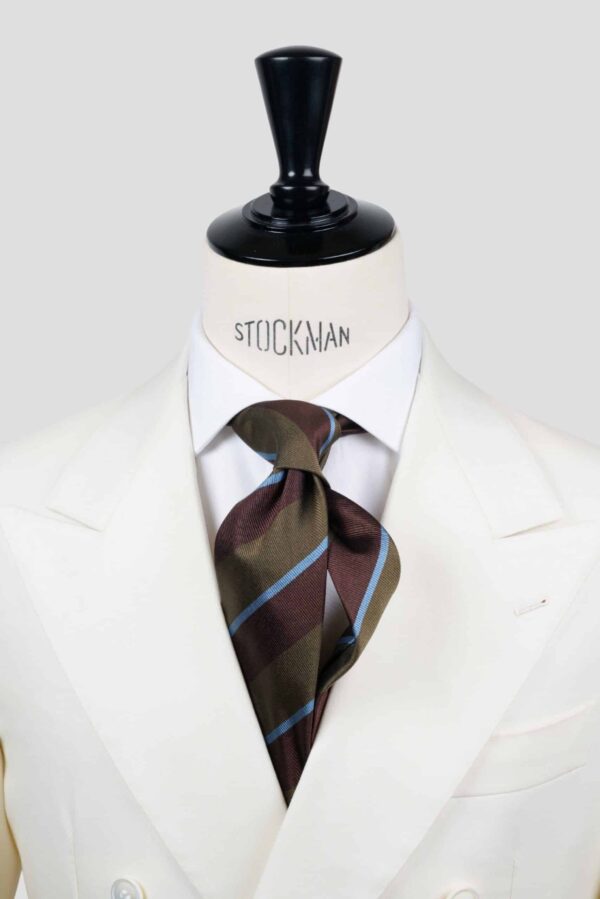
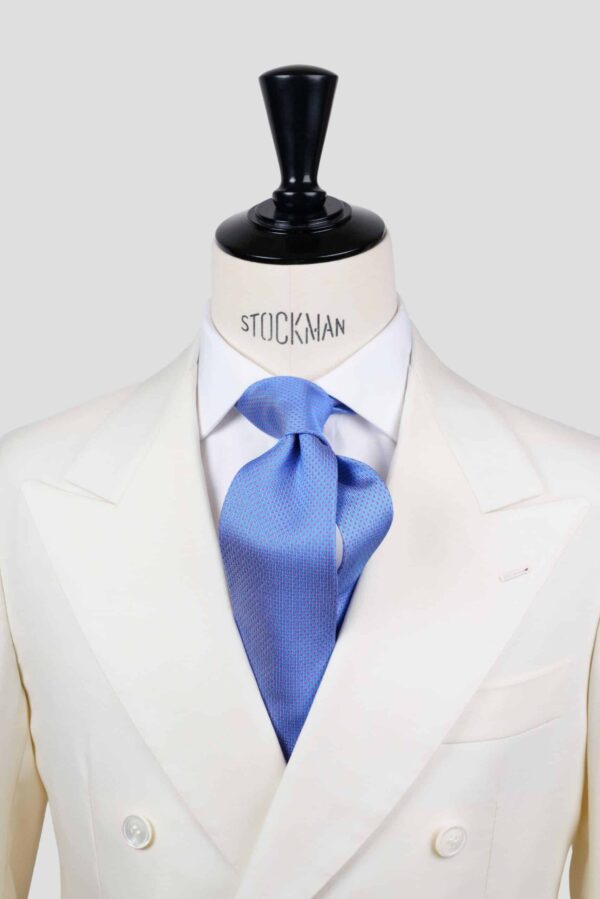
Every tie photographed on this site is tied with a four-in-hand, whatever the silk, whatever the construction. It is a choice, not a shortcut. Its asymmetry leaves room: two four-in-hand knots are never quite identical, this morning’s does not look like yesterday’s, and this freedom belongs to whoever ties it. The Windsor has only one correct result. It is beyond reproach, and closed to any interpretation.
Freedom does not mean looseness. Each of our ties carries a collar stitch: a seam placed on the part of the tie that runs inside the shirt collar. This seam stiffens the tie at that precise spot, and once the collar is folded down over it, the tie no longer leaves the position you gave it. The freedom is in the gesture, not in the hold.
Which knot for which collar
The four-in-hand, small and elongated, suits a narrow to medium spread and a button-down collar, in medium to thick silk. The Prince Albert, also elongated, suits a narrow to medium spread and prefers a thin to medium silk. The half-Windsor, triangular and medium sized, dresses a medium to wide spread. The Windsor, the fullest, is made for a wide spread or a wing collar, in thin to medium silk.
The rule fits in one sentence: the wider the collar spread, the wider the knot must be, otherwise a triangle of bare shirt appears between the collar points.
The volume of the knot comes from the silk, not from the number of folds
A stubborn misconception has it that the number of folds makes the thickness of a tie. It is the other way around. A seven fold tie is born from a single square of silk folded onto itself, with no added lining or interlining. It is supple, light, and its knot stays fluid. It accepts every knot on this list, Windsor included.
The thickest ties are, on the contrary, three fold ties in woven silk: grenadine, silk étamine, and more broadly any silk that is woven rather than printed. The weave brings grain, body and substance. With them, the knot quickly gains volume: favor the four-in-hand and leave the Windsor aside, unless you are deliberately after an imposing knot.
The habit to adopt: look at the silk before you count the folds. A grenadine will always give a bigger knot than a printed twill, whatever the construction.
The second variable is length. A standard tie measures between 57 and 59 inches (145 to 150 cm). A Windsor easily uses 4 inches (10 cm) more than a four-in-hand: on a tall man, the tip ends above the belt. The four-in-hand solves the problem without changing ties.
The mistakes that show right away
- The tip too high or too low. The reference point is the middle of the belt buckle, not the belt itself.
- The narrow end showing. Slip it into the keeper loop sewn on the back of the wide end. If it still shows, redo the knot with one more turn, the Prince Albert instead of the four-in-hand for example.
- A loose knot on a closed collar. The knot should touch the collar without crushing the shirt. A visible gap looks careless, in photographs too.
- A flat knot, with no dimple. A knot without a hollow looks stiff. The fold forms as you tighten, never afterwards.
- A knot too big for the collar. If the collar points spread apart, change the knot rather than the shirt.
- Tightening by the narrow end. This twists the silk and leaves a permanent mark.
Untying and storing your tie
Always undo the knot by repeating the moves in reverse. Pulling the narrow end through the knot to open it in one go is the gesture that wears a tie out fastest: the silk twists and the mark of the knot eventually stops coming out.
Between two wears, let the tie rest flat or hanging, away from light. Silk cannot be machine washed and does not take water well: a stain only comes out with professional dry cleaning. A crease is treated with a steamer held about 4 inches (10 cm) away, never with an iron placed directly on the silk.
Frequently asked questions
What is the easiest tie knot?
The four-in-hand, in five moves. It is the best first knot to learn: it suits almost every collar and it forgives approximations.
Which tie knot for a wedding?
The half-Windsor in the vast majority of cases: symmetrical, neat, never showy. The Windsor if the collar is very open or if the ceremony is particularly formal. For a black-tie dress code, the tie gives way to the bow tie.
Which knot for a tie that is too short?
The four-in-hand, the least demanding in length of the four. Conversely, avoid the Windsor, which can cost 4 inches (10 cm) more than a four-in-hand.
Are these knots for men only?
No. The four knots are tied exactly the same way whoever wears them. A tie goes just as well with a suit as with a loose shirt or a pantsuit, and the choice of knot depends on the collar, not on the person.
Should you retie your tie every day?
Yes. Leaving the knot tied and slipping the tie over your head tires the silk in the same place and deforms the fold for good. Two minutes every morning add years to the life of a tie.
If you also wear silk other than as a tie, our guide on how to tie a silk scarf details ten ways to wear one, and our silk scarves lend themselves to the same play of knots.
From the workshop
The pieces to tie
Sewn by hand, in Paris for the three fold and in Italy for the seven fold, in pure silk twill woven in the Lake Como region.